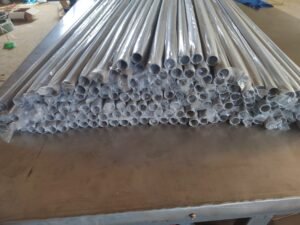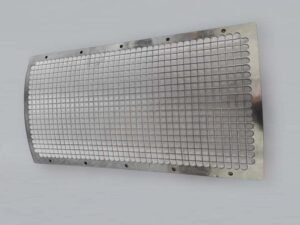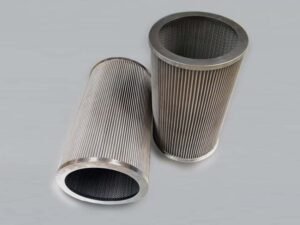
Woven wire mesh defects are departures from the agreed wire arrangement, opening geometry, surface condition or finished construction. A broken wire, an irregular opening and a frayed edge may look like related quality problems, but they can originate at different stages. Preventing recurrence requires tracing the condition through weaving, handling and fabrication.
This guide focuses on possible manufacturing causes and practical prevention checks. For naming visible conditions, taking photographs and recording measurements, use our separate wire mesh defect identification and inspection guide. Neither guide replaces the agreed drawing, sampling plan or acceptance criteria.
1. Find the stage where the condition first appears
Start with the earliest documented occurrence, rather than assuming the loom caused every defect. The same finished component may pass through unwinding, cutting, rolling, welding, cleaning and packing. An opening can change after weaving; a wire can break during installation or service.
Record the roll or component ID, location along its length, width position, warp/weft direction and observation stage. Compare an as-woven reference, a cut blank and a finished part where available. Keep their restraint conditions comparable: a relaxed cloth and a tightly clamped sample can present different opening shapes.
| First confirmed stage | Useful comparison | Investigation direction |
|---|---|---|
| As-woven cloth | Start-up sample, adjacent cloth and production records | Wire input, threading, feed, tension and weaving sequence |
| After cutting or forming | Original cloth versus blank or formed part | Tooling, restraint, handling, edge stability and forming sequence |
| After welding or assembly | Pre-weld fit-up versus finished seam and nearby cloth | Joint design, heat input, fixtures and support or seal interfaces |
| After transport or service | Dispatch condition, packaging and operating records | Impact, abrasion, installation, loading, cleaning and environment |
A process-stage comparison narrows the investigation; it does not prove a cause on its own. If the original condition was not recorded, retain that uncertainty rather than assigning responsibility from one close-up.
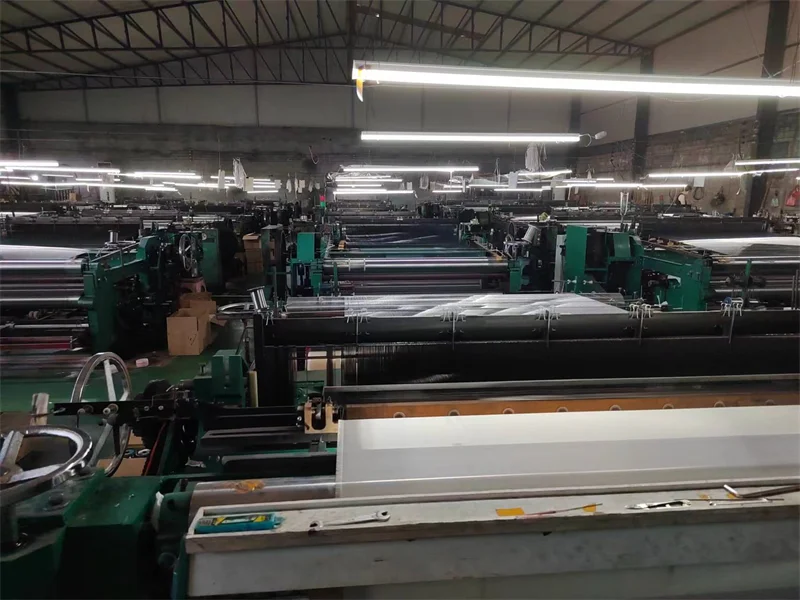
2. Investigate weaving-related defects
The checks below are possible investigation paths. Confirm them against the affected sample and process records before deciding on a corrective action.
Broken warp or weft wires
A physical break can create a loose end or an enlarged local opening. Where the break is already present in as-woven cloth, examine incoming wire condition, wire-path contact points, feed continuity, tension history and the position of repeated breaks. A burr or damaged guide is a different problem from a material issue or an interrupted feed.
Compare break locations across several affected pieces. Repeated damage in one width position can help prioritize a contact-path check; scattered breaks require a broader review. These patterns are clues, not diagnoses. Avoid simply increasing or decreasing tension without checking the effect on the whole weave.
Missing or irregularly spaced weft
Confirm the intended sequence first. A local wide band may involve an omitted insertion, a displaced wire or spacing changes around a stop and restart. Review insertion records where available, feed behavior and the transition around the affected area.
A useful prevention measure is a defined restart check: compare the first cloth after an interruption with the approved structure and mark any affected length for disposition. The restart procedure and inspection interval should match the process, rather than a universal number supplied by this article.
Wrong interlacing or an unintended extra wire
Compare the actual crossing sequence with the approved weave. Plain, twill and Dutch structures differ, and an intentionally paired wire must not be mistaken for an accidental duplicate. When a genuine mismatch exists from start-up, review threading and the loom setup against the specification. When it begins later, check the associated feed or process event.
Use a first-piece or start-up approval sample to confirm weave identity before producing a full roll. A visual match still needs the specified dimensional checks; the correct pattern does not establish the correct aperture.
Uneven aperture, bands and raised wires
Separate a measured opening deviation from an appearance change caused by viewing angle or sample restraint. Once a departure is established, compare warp and weft behavior, wire dimensions, tension distribution, take-up and beat-up consistency as applicable to the equipment.
Do not straighten a sample before documenting it. A flattening operation can change the observation and may hide the original relationship between a raised wire, local spacing and a crease. Any approved correction needs dimensional verification afterward.
3. Check cutting, forming and welding
A conforming roll can become a nonconforming component during fabrication. Check the blank and finished assembly separately.
| Finished-part condition | Possible contributors to check | Prevention or verification step |
|---|---|---|
| Frayed edge or loose cut wires | Cut location, cloth stability, cutting method and handling | Agree edge form; support the cut region; inspect loose fragments after processing |
| Burrs or damaged edge wires | Tool condition, clearance, clamping and cutting process | Trial the method on matching cloth; verify the edge where it contacts a seal or adjacent layer |
| Distorted openings after rolling | Forming radius, direction, restraint and tooling contact | Compare blank and formed geometry; check the critical filtering region |
| Crease or local flattened area | Unwinding, stacking, clamping and unplanned contact | Support flexible cloth and define handling points; retain before/after evidence |
| Weld distortion, damaged wires or an open seam | Fit-up, joint design, heat input, sequence and fixture support | Qualify the proposed joint on representative material and verify the complete seam |
Cut wire ends are inherent to some edge forms. The requirement should distinguish a woven selvage, a plain cut edge, a bound edge and a welded edge. “No loose fragments” and “no exposed wire ends” are different requirements; describe what the assembly needs.
A sound-looking weld does not automatically establish filtration continuity. Check the connection between cloth, support and end fittings, especially where an unintended gap could let fluid bypass the medium. Any required integrity, retention or structural test belongs in the finished-element specification.
Local repair also needs approval. Adding a weld, trimming a wire or covering a region can alter geometry, active area and the intended flow path. Record the disposition and reinspect the affected area instead of treating a cosmetic improvement as proof of restored function.
4. Review surface condition and handling
Deposits, embedded debris and discoloration require different investigations. Record the visible condition before cleaning, then review contact surfaces, lubricants, cleaning, drying, storage and packaging as relevant. Surface color alone does not identify the alloy or prove corrosion.
Where contamination is confirmed, address both its source and the cleaning method. Repeated cleaning without removing the source may only repeat the problem. Agree any residue, particle or cleanliness requirement before choosing a verification method; a photograph cannot establish a quantified cleanliness result.
Keep bare cloth, coated cloth and bonded multilayer media separate. Coating damage, delamination and corrosion need material-specific checks. A generic woven-wire defect checklist cannot serve as a coating adhesion test or a sintered-media bond assessment.
5. Build a prevention and verification loop
The quality-control and release guide connects a corrective action to incoming checks, first-piece approval and delivery evidence. When specifying replacement woven wire mesh rolls, record the affected feature and acceptance requirement rather than treating a general product grade as a defect criterion.
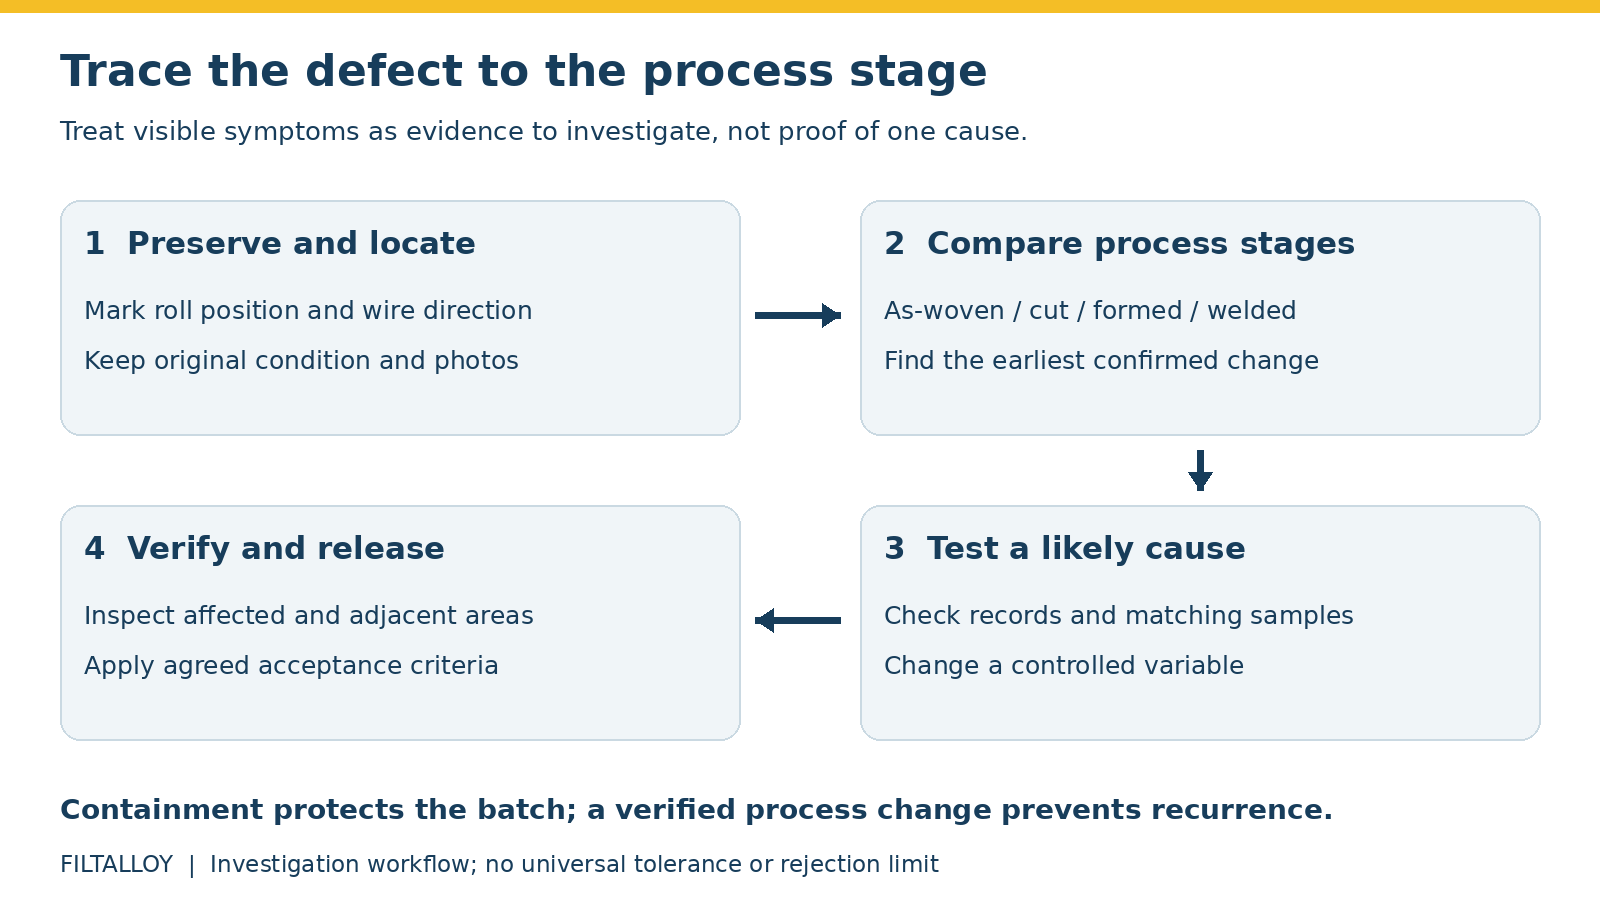
Contain the affected material first, then verify a process change. Identifying a symptom, identifying a cause and accepting a batch are separate decisions.
- Preserve the evidence: identify the sample and location, retain the original condition and mark the affected production interval.
- Compare stages: establish where the change first appears and inspect adjacent material or matching samples.
- Test a likely contributor: review records and use a controlled trial where appropriate. Record what changed and the result.
- Verify the outcome: recheck the affected feature and related dimensions. A change that removes a raised wire may still alter openings or flatness.
- Close the action: document the accepted setup or handling change, inspection point and disposition of held material.
A 2025 study of quality improvement in woven wire mesh production examined production data and machine settings in a specific manufacturing case. It supports investigating recorded process information, but its settings and reported results should not be transferred to a different loom, wire batch or product as guaranteed performance.
Our prevention workflow is practical editorial guidance. It does not claim that every listed check is prescribed by a standard or that one setting prevents every defect.
6. Define requirements before production
Many disputes begin with an incomplete specification. Define the structure, dimensions, delivery condition and critical service regions before agreeing on appearance or defect limits.
- Cloth: material, weave, warp/weft wire dimensions, aperture or relevant filter-cloth designation, and dimensional tolerances.
- Finished form: roll, blank or assembly dimensions; edge type; seams; supports; forming and cleaning requirements.
- Critical regions: active filtering area, sealing surfaces, visible faces and any agreed edge allowance.
- Acceptance: applicable document and edition, sampling and measurement method, defect classification, repair permission and required records.
- Performance: any specified retention, pressure-drop, integrity or differential-pressure evidence for the finished element.
ASTM E2016-22 includes requirements relating to industrial woven cloth and blemishes within its scope. Confirm applicability and the contractual edition. This article does not reproduce its tolerance tables or assign one allowable defect count to every mesh and filtration application.
Use the wire mesh specification guide to organize the order details, and the inspection knowledge page for traceable observation records. For flow consequences of changed geometry, see how open area affects wire mesh pressure drop.
Frequently asked questions
Does a broken wire prove a weaving problem?
No. It can occur during manufacture, fabrication, handling or service. Compare process stages and preserve evidence before deciding the cause.
Can cleaning correct a structural defect?
Cleaning can remove suitable deposits when the method is appropriate, but it does not restore a missing wire, incorrect weave or damaged seam. Reinspect the cleaned material against its actual requirements.
Should all visible blemishes cause rejection?
Apply the agreed acceptance rules, location and functional requirements. An observation is not an automatic batch decision, and an acceptable average dimension does not settle every local condition.
Can a manufacturer prevent defects by changing tension alone?
Tension is one process variable. Wire condition, feed, setup, tooling, handling and subsequent operations also require review. Validate any adjustment on the intended cloth rather than relying on one universal setting.
Summary
Preventing woven wire mesh defects starts with locating the earliest confirmed change. Separate weaving conditions from fabrication damage and service failure, test the likely contributor, and verify the result against agreed requirements. That process produces a more useful corrective action than assigning one cause from a photograph.